How to make a fishmouth joint in a pipe: step-by-step layout
Learn how to create an accurate template for fitting pipes, reducing adjustments, and facilitating welding.
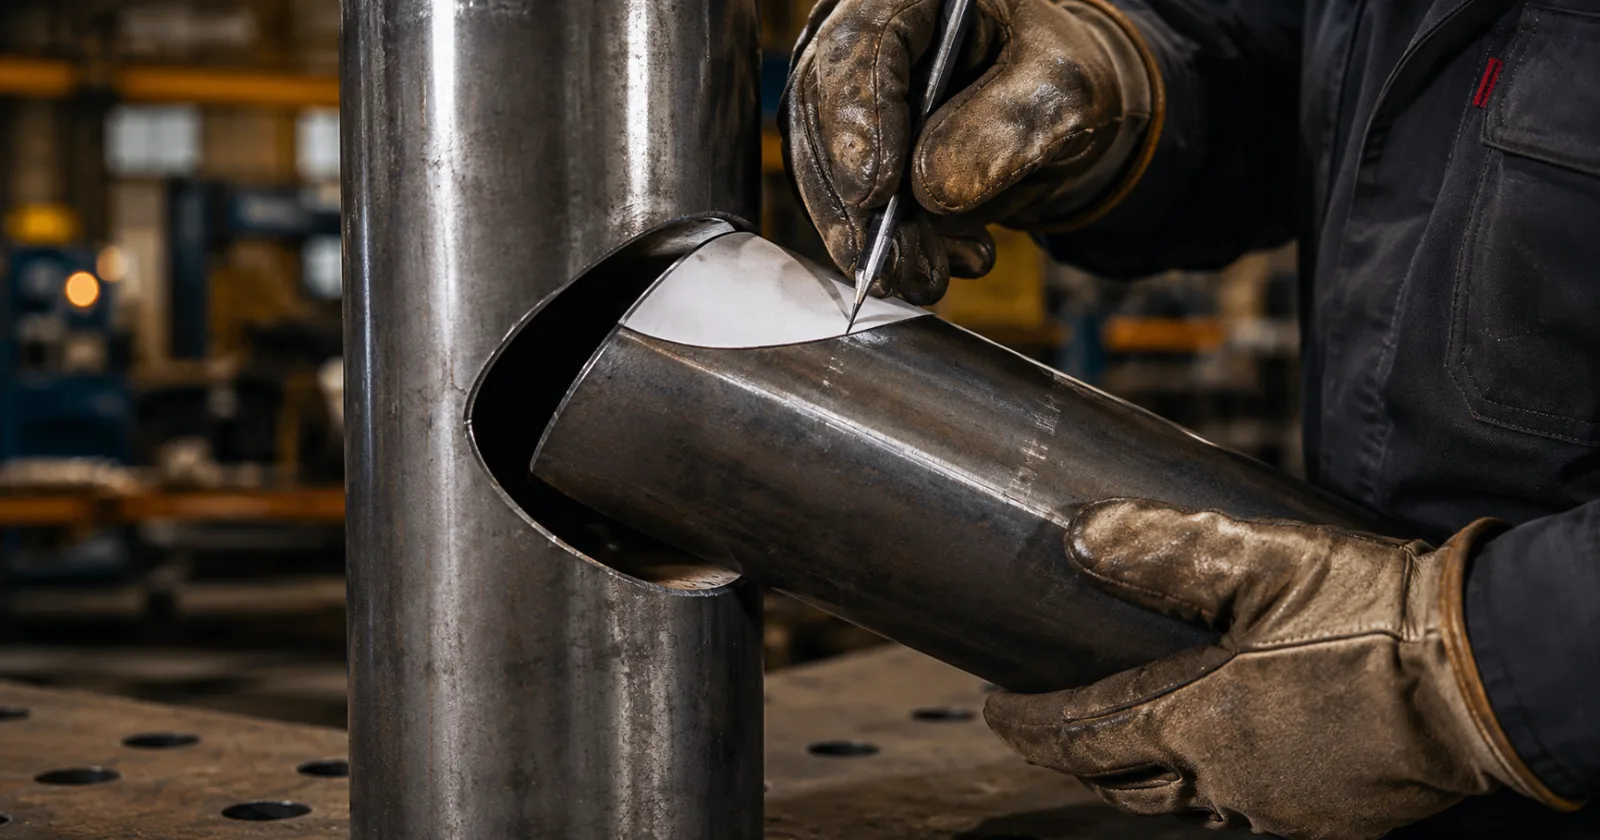
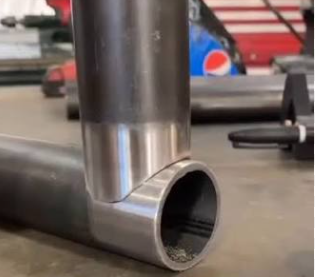
A fishmouth joint is one of the most common layouts in metal fabrication, especially in the manufacturing of metal structures, handrails, supports, piping, and pipe connections.
The purpose of this layout is to create a cut-out at the end of a pipe so that it fits correctly over another. When the development is done with precision, the work requires fewer adjustments, facilitates welding, and provides a much better finish.
In this guide, you will learn how to make a fishmouth joint on a pipe in a practical way.
What is a fishmouth joint?
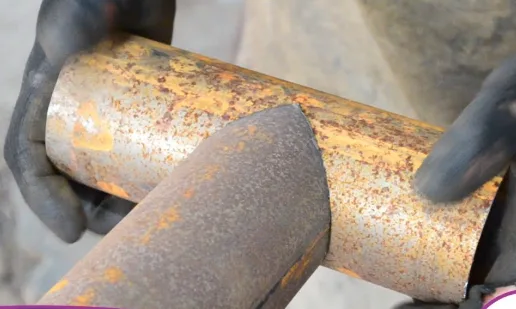
A fishmouth joint is a curved cut made at the end of a pipe, allowing it to fit over the surface of another pipe.
This type of joint can be made in different configurations:
90-degree joint;
45-degree joint;
Custom angles;
Centralized fittings;
Eccentric fittings.
The final cut shape mainly depends on the pipe diameter and the joint angle.
Required materials
To perform the layout manually, you can use:
Ruler;
Square;
Compass;
Measuring tape;
Industrial marker;
Paper to create the template;
Cutting tool;
Personal protective equipment.
Before starting, carefully check the outside diameter of the pipes and the angle at which the fit will be made.
How to make a fishmouth joint in a pipe
1. Identify the pipe measurements
Note the outside diameter of the pipe to be cut and the pipe onto which it will be fitted.
These measurements must be correct, as any difference could compromise the shape of the cut and create gaps between the parts.
2. Draw the pipe circumference
Draw a circumference with the same outside diameter as the pipe to be cut.
This circumference will be used as a reference to find the necessary points for creating the development.
3. Divide the circumference into equal parts
Divide the circumference into equal parts. It is common to use 12 or 24 divisions.
The greater the number of divisions, the greater the precision of the curve.
Number all points to facilitate the transfer of measurements later.
4. Draw the side view of the pipes
Represent the two pipes in the position in which they will be joined.
In the side view, draw the main pipe and the pipe to be cut. Correctly mark the connection angle, such as 90 or 45 degrees.
This representation will allow you to visualize the points where the cut pipe meets the surface of the main pipe.
5. Project the circumference points
From the divisions made in the circumference, project lines to the side view.
Mark the points of intersection with the contour of the main pipe. These points will represent the different depths of the cut.
Keep all lines aligned and identified to avoid errors.
6. Develop the pipe
Draw a rectangle with:
Sufficient height to represent the end of the pipe;
Length equal to the perimeter of the pipe to be cut.
To calculate the perimeter, use the formula:
Perimeter = diameter × 3.1416
Then, divide the length of the rectangle by the same number of parts used in the circumference.
7. Transfer the measurements
Transfer the heights found in the side view to the development.
Each division should receive the measurement corresponding to its point.
After marking all the heights, join the points with a continuous, smooth line. This line will form the drawing of the wolf mouth.
8. Cut the template
Cut the flat pattern development and wrap the template around the pipe.
The paper edges must meet correctly, without overlap or gaps.
Secure the mold and transfer the cutting line to the pipe using a marker.
9. Perform the cut and finish
Make the cut following the marked line.
Then, remove the burrs and make small adjustments until the pipe fits correctly onto the other piece.
Before the final welding, check:
Alignment;
The joint angle;
The gap between the parts;
The stability of the assembly.
How to calculate the length of the development
To flatten the pipe surface in a straight line, it is necessary to calculate its perimeter.
Consider a pipe with 100 millimeters in diameter:
100 × 3.1416 = 314.16 millimeters
Therefore, the development should be approximately 314,16 millimeters long.
If the circumference is divided into 12 parts:
314,16 ÷ 12 = 26,18 millimeters
Each division of the development will have approximately 26.18 millimeters.
Common mistakes when making a wolf mouth
Using the incorrect diameter
Always consider the actual external diameter of the pipe. The nominal dimension may be different from the dimension found on the part.
Make few divisions
A very small number of divisions can make the layout less precise, especially in larger-diameter pipes.
Transfer the points out of order
Number all divisions to avoid swapping measurements during the development.
Remove excess material
Make the cut carefully and finish gradually. It is easier to remove a small amount of material than to correct an excessive cut.
Do not test the template
Before cutting the pipe, wrap the mold around the part and check that the ends are aligned correctly.
How to achieve a more precise fit
Some precautions can considerably improve the quality of the work:
Check the dimensions before starting;
Use instruments in good condition;
Keep the divisions equally spaced;
Mark the points accurately;
Make a smooth line between the markings;
Test the template before cutting;
Perform the finish gradually.
A good layout reduces the time spent on adjustments, decreases material waste and improves welding quality.
Is it possible to make a wolf mouth using a mobile phone?
Manual development is important to understand the process, but it can require a lot of time, especially when there are different diameters and angles.
With a boilermaking layout application, it is possible to input the part dimensions and generate the development more quickly.
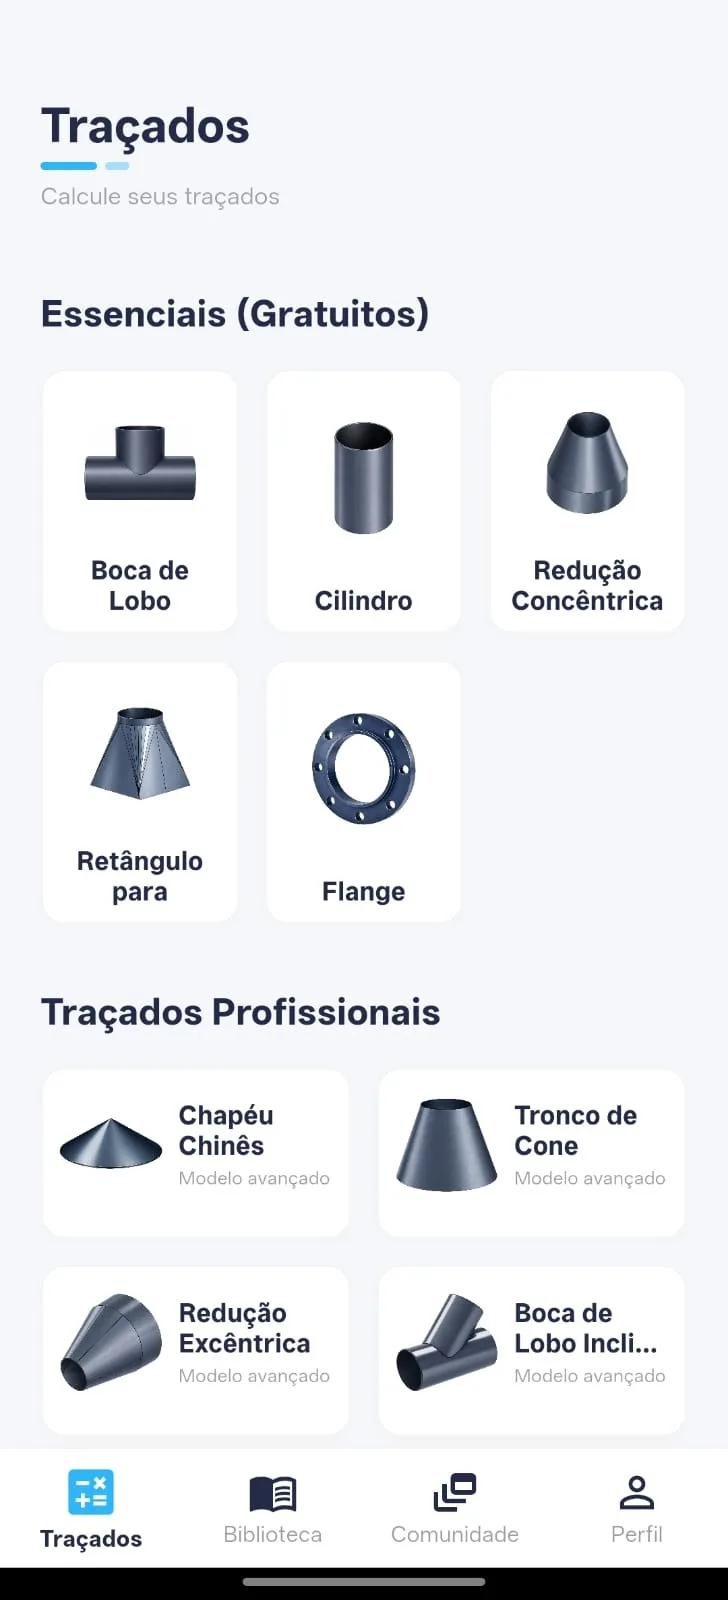
The TraceClub helps boilermakers, welders and industry professionals perform calculations and layouts directly on the phone, reducing errors and making daily work easier.
Conclusion
Knowing how to make a wolf mouth on pipe is essential for those who work with boilermaking / metal fabrication, piping and metal structures.
The process consists of dividing the circumference, laying out the points, creating the development and transferring the shape to the pipe.
With correct measurements, attention during marking and a good finish, it is possible to achieve a precise fit, reduce waste and facilitate welding.
Carry TraceClub in your pocket
Boilermaking layouts, calculations and technical manuals in the palm of your hand — fast, accurate and always with you in the shop or in the field.
- Available for iOS and Android
- Works offline
- PT · EN · ES