How to lay out a truncated cone in metal fabrication
Learn to calculate the generatrix, radii, and angle needed to develop a truncated cone from a plate.
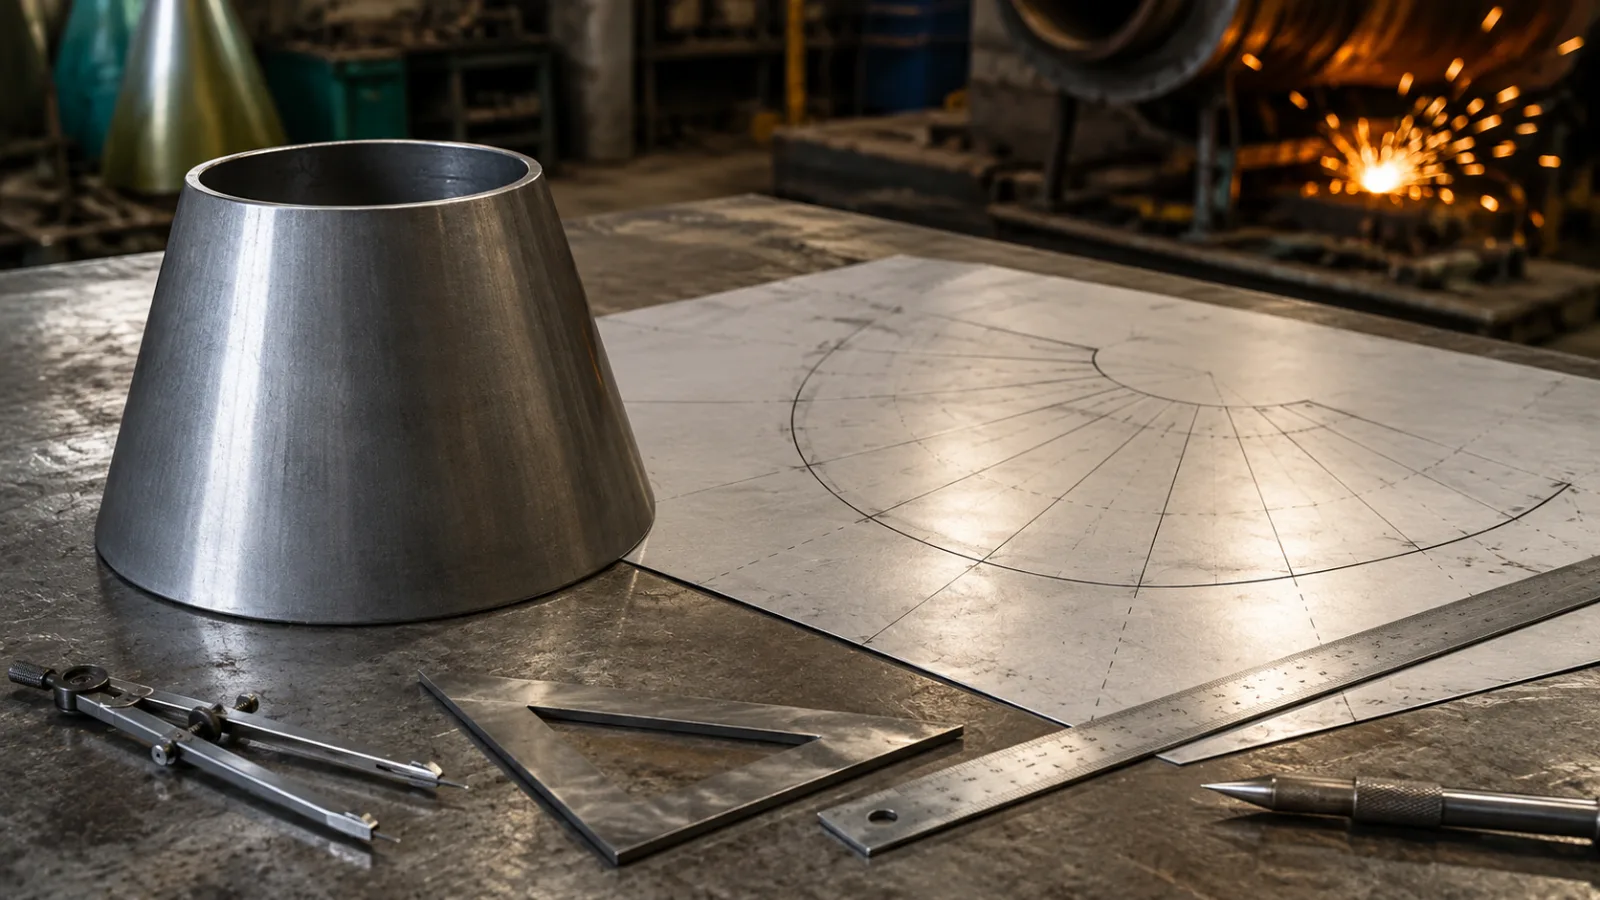
How to lay out a truncated cone in metal fabrication: complete calculation and development
Knowing how to lay out a truncated cone in metal fabrication is essential for manufacturing concentric reducers, funnels, silos, ducts, tanks, and various parts used in industry.
The truncated cone, also called a frustum of a cone, has two circular ends with different diameters. To fabricate it from plate, it is necessary to transform its three-dimensional surface into a flat pattern development.
In this guide, you will learn how to calculate the generatrix, the development radii, and the angle of the circular sector. You will also see a complete practical example to apply the calculation directly to the layout.
Important: this method is suitable for concentric truncated cones, where the center of the larger diameter is aligned with the center of the smaller diameter.
What is a truncated cone?
A truncated cone is formed when a complete cone is cut by a plane parallel to its base before reaching the apex.
The resulting part has:
A larger diameter;
A smaller diameter;
A vertical height;
An inclined lateral surface;
Two circular and concentric ends.
When the lateral surface is opened and laid out on a flat plate, it forms a circular annulus sector.
This sector is composed of:
An outer arc;
An inner arc;
Two radial lines.
This shape represents the flat pattern development that must be marked, cut, and subsequently rolled.
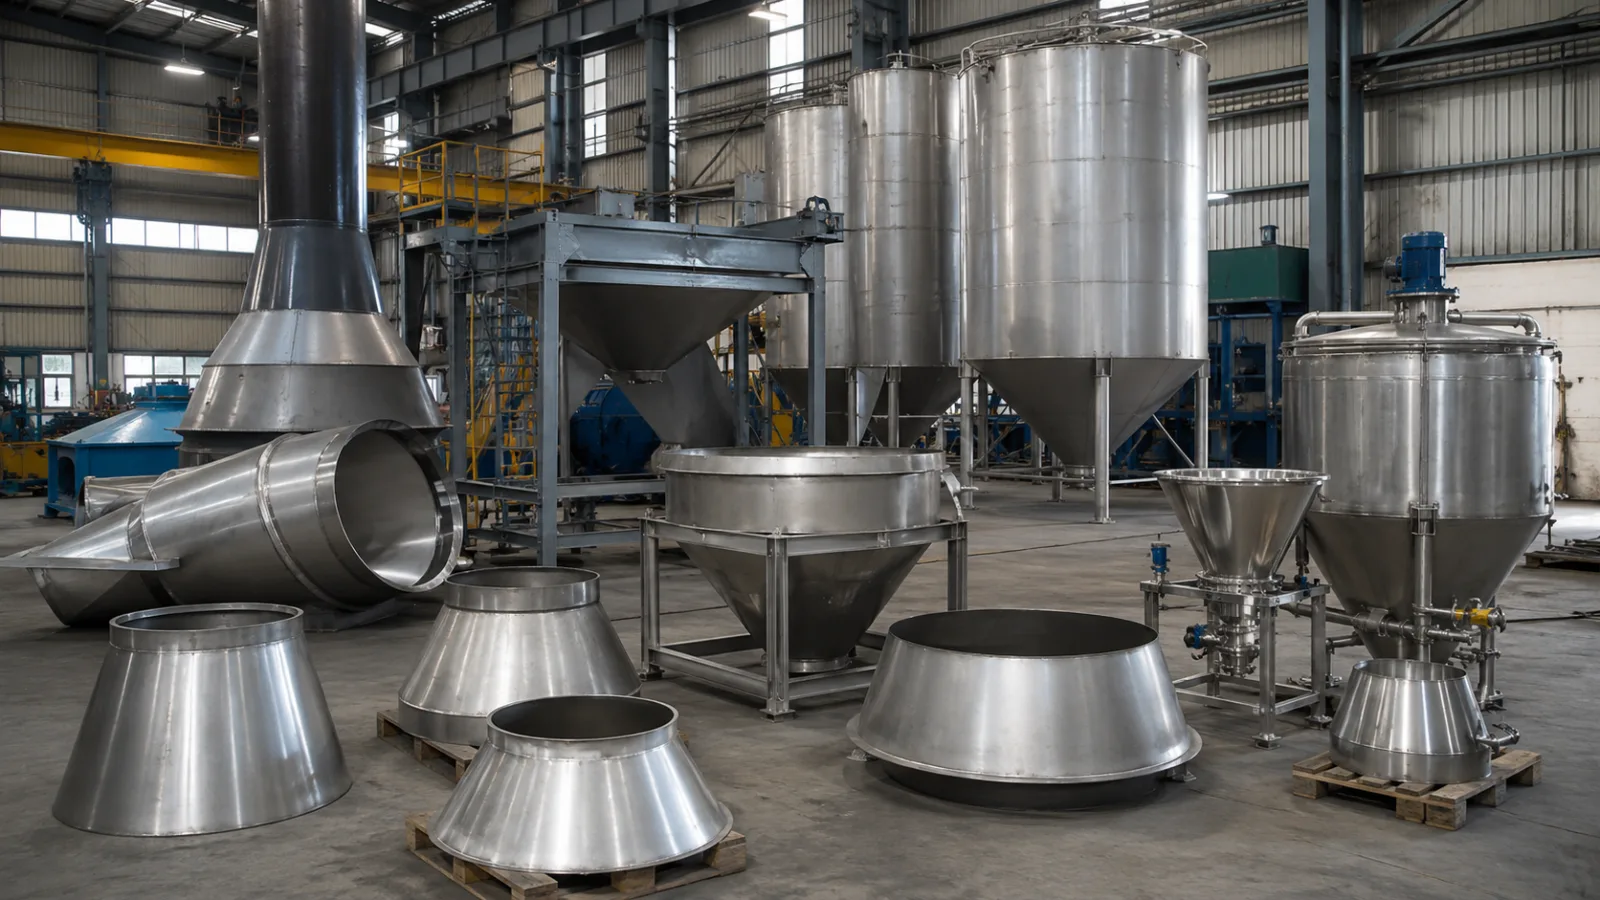
Where is the truncated cone used?
Truncated cone development is common in the fabrication of:
Concentric reducers;
Industrial funnels;
Silos;
Boilers;
Chimneys;
Ventilation ducts;
Tanks;
Circular transitions;
Mining equipment;
Equipment for food and chemical industries.
Measurements needed to lay out a truncated cone
Before starting the calculations, identify the three main measurements of the part:
D: D: major diameter;
d: minor diameter;
h: vertical height of the truncated cone.
In addition to these measurements, check:
The plate thickness;
The type of material;
The welding margin;
The need for a flange;
The overlap of the joint;
The cutting method;
Whether the indicated diameters are internal, external or nominal.
All dimensions used in the calculation must be in the same unit, usually millimetres.
Formulas for the development of the truncated cone
To develop the layout, it will be necessary to calculate:
The larger radius;
The smaller radius;
The generatrix of the truncated cone;
The external radius of the development;
The internal radius of the development;
The angle of the circular sector.
1. How to calculate the larger radius and the smaller radius
The radius corresponds to half the diameter.
Larger radius
R = D ÷ 2
Minor radius
r = d ÷ 2
Where:
R is the larger radius;
r is the smaller radius;
D is the larger diameter;
d is the smaller diameter.
2. How to calculate the slant height of a truncated cone
The generatrix is the inclined distance between the larger end and the smaller end of the cone.
It should not be confused with the piece's vertical height.
The formula for the generatrix is:
g = √[h² + (R − r)²]
Where:
g is the generator of the truncated cone;
h is the vertical height;
R is the larger radius;
r is the smaller radius.
The difference between the radii represents the horizontal offset between the two ends of the cone.
3. How to calculate the external radius of the development
The outer radius is the distance between the theoretical vertex of the full cone and the arc corresponding to the larger diameter.
The formula is:
L = (g × R) ÷ (R − r)
Where:
L is the external radius of the development;
g is the generatrix;
R is the larger radius;
r is the smaller radius.
It is also possible to calculate directly by the diameters:
L = (g × D) ÷ (D − d)
4. How to calculate the internal radius of the development
The inner radius is the distance between the theoretical vertex of the full cone and the arc corresponding to the smaller diameter.
The formula is:
l = (g × r) ÷ (R − r)
Using the diameters:
l = (g × d) ÷ (D − d)
The difference between the outer radius and the inner radius must be equal to the slant height of the truncated cone:
L − l = g
This relationship can be used to verify the calculation.
5. How to calculate the angle of the truncated cone
The angle determines the size of the circular sector that will be used to form the part.
The formula is:
α = 360° × (R − r) ÷ g
It is also possible to calculate using the diameters:
α = 180° × (D − d) ÷ g
Another way to verify the result is:
α = 360° × R ÷ L
Where:
α is the sector angle;
R − r is the difference between the radii;
D − d is the difference between the diameters;
g is the generator;
L is the external radius of the development.
Practical example of truncated cone calculation
Let's calculate the development of a truncated cone with the following dimensions:
Larger diameter: 800 mm;
Minor diameter: 400 mm;
Vertical height: 600 mm.
Step 1: calculate the radii
Larger radius
R = 800 ÷ 2
R = 400 mm
Minor radius
r = 400 ÷ 2
r = 200 mm
Therefore:
Larger radius: 400 mm;
Minor radius: 200 mm.
Step 2: calculate the generatrix
Applying the formula:
g = √[600² + (400 − 200)²]
g = √[360.000 + 40.000]
g = √400.000
g = 632,46 mm
The generatrix of the truncated cone is approximately 632,46 mm.
Step 3: calculate the outer radius
Applying the formula:
L = (632,46 × 400) ÷ (400 − 200)
L = 252.984 ÷ 200
L = 1.264,92 mm
The external radius of the development will be approximately 1.264,92 mm.
Step 4: calculate the internal radius
Applying the formula:
l = (632,46 × 200) ÷ (400 − 200)
l = 126.492 ÷ 200
l = 632,46 mm
The internal radius of the development will be 632,46 mm.
Step 5: calculate the sector angle
Applying the formula:
α = 360° × 200 ÷ 632,46
α = 72.000 ÷ 632,46
α = 113,84°
The sector angle will be approximately 113,84°.
Final development result
To lay out this truncated cone on the plate, use:
External radius: 1.264,92 mm;
Inner radius: 632,46 mm;
Sector angle: 113,84°;
Distance between the arcs: 632,46 mm.
The distance between the two arcs corresponds to the generatrix of the truncated cone.
How to mark the truncated cone on the plate
After performing the calculations, the development can be transferred to the plate.
1. Mark the center of the development
Define a central point on the plate or in an auxiliary area.
This point represents the theoretical vertex of the complete cone.
On large parts, the center may lie outside the plate. In that case, use a larger table, an extension of the work surface, or a coordinate marking method.
2. Lay out the outer arc
Using a large compass, a radius bar, or a tape measure attached to the central point, lay out the arc with the calculated outer radius.
In the example:
Outer radius = 1.264,92 mm
3. Lay out the inner arc
Keeping the same central point, lay out the second arc with the inner radius.
In the example:
Inner radius = 632.46 mm
4. Mark the sector angle
Starting from an initial line, mark the calculated angle using a protractor, template, or geometric method.
In the example:
Angle = 113,84°
5. Trace the side lines
Connect the ends of the two arcs to the center of the development.
These lines will form the sides of the circular sector.
6. Add the joint margin
The welding margin, overlap or bend should be added only after the geometric development is completed.
The margin size depends:
On the type of welding;
Of the plate thickness;
Of the assembly process;
Due to the need for overlap;
From the project specifications.
There is no single suitable margin for all jobs.
How to check the development before cutting
Before cutting the plate, check the length of the arcs.
The outer arc must have the same length as the larger circumference.
The formula for the circumference is:
C = π × D
In the example:
C = 3,1416 × 800
C = 2.513,28 mm
Therefore, the outer arc should be approximately 2.513,28 mm.
The inner arc must have the same length as the smaller circumference:
C = 3,1416 × 400
C = 1.256,64 mm
Therefore, the internal arc should be approximately 1.256,64 mm.
This check helps identify errors in the radii or the angle before the part is cut.
Tools used in manual layout
To manually lay out a truncated cone, the following can be used:
Tape measure;
Metal ruler;
Square;
Dry-point compass;
Radius bar;
Protractor;
Scribe;
Punching;
Scientific calculator;
Line;
Angle template.
The tools must be in good condition to avoid marking errors.
Common mistakes when laying out a truncated cone
Using the height instead of the generatrix
The vertical height does not correspond to the inclined measurement of the surface.
The radii of the development must be calculated using the generatrix.
Confusing radius with diameter
The radius corresponds to half the diameter.
Using the diameter in a formula that requires the radius can double the result and compromise the entire part.
Calculate only the larger circumference
The truncated cone has two arcs.
The outer arc corresponds to the larger diameter and the inner arc corresponds to the smaller diameter.
Add the weld margin during the geometric calculation
First, the geometric development of the part must be performed.
Then the necessary margins for welding, overlap, flange or finish are added.
Do not check the length of the arcs
The lengths of the arcs must be equal to the circumferences of the respective ends.
Confusing concentric cone with eccentric reducer
The formulas presented in this article are intended for concentric truncated cones.
When the centers of the diameters are misaligned, the part is an eccentric reducer and usually requires development by triangulation.
How does the plate thickness affect the layout?
In thin plates, many layouts are performed using the dimensions provided in the design directly.
In thicker plates, it may be necessary to consider:
Inner diameter;
External diameter;
Mean diameter;
Neutral line;
Material elongation;
Calendering method;
Manufacturing tolerance.
For higher‑precision work, the dimensions used in the development must be defined according to the technical drawing and the manufacturing process.
Manual layout or development by software?
Manual layout is important to understand the geometry of the part and verify the calculations.
Specialized software can make the process faster, especially in the manufacturing of complex or repetitive parts.
Among the advantages of software development are:
Higher calculation speed;
Reduction of repetitive errors;
Generation of files for CNC cutting;
Better utilization of the plate;
Ease of reproducing parts;
Standardization of developments.
Even when using software, the professional must understand the calculation principles to validate the dimensions before fabrication.
Frequently asked questions about truncated cone
How to calculate the slant height of a truncated cone?
The generatrix is calculated by the formula:
g = √[h² + (R − r)²]
It represents the inclined distance between the two ends of the cone.
What is the shape of the flat pattern development of a truncated cone?
The flat pattern development forms a circular crown sector, composed of an outer arc, an inner arc, and two radial lines.
How to calculate the development angle?
The angle can be calculated using the formula:
α = 360° × (R − r) ÷ g
Or, using the diameters:
α = 180° × (D − d) ÷ g
How to know if the calculation is correct?
The length of the outer arc must be equal to the circumference of the larger diameter.
The length of the inner arc must be equal to the circumference of the smaller diameter.
The following relationship must also be confirmed:
L − l = g
Is this calculation for an eccentric reducer?
No.
The eccentric reducer has misaligned centers and requires a different development method, usually based on triangulation.
Conclusion
To learn how to lay out a truncated cone in boilermaking / metal fabrication, it is necessary to correctly calculate the slant height, the outer radius, the inner radius and the angle of the circular sector.
The process can be summarized in the following steps:
Identify the larger diameter, the smaller diameter, and the height;
Calculate the radii;
Calculate the generatrix;
Determine the radii of the development;
Calculate the angle;
Mark the arcs on the plate;
Check the lengths;
Add the manufacturing margins;
Cut and form the part.
The inspection before cutting reduces the risk of material loss, dimensional error, and rework during assembly.
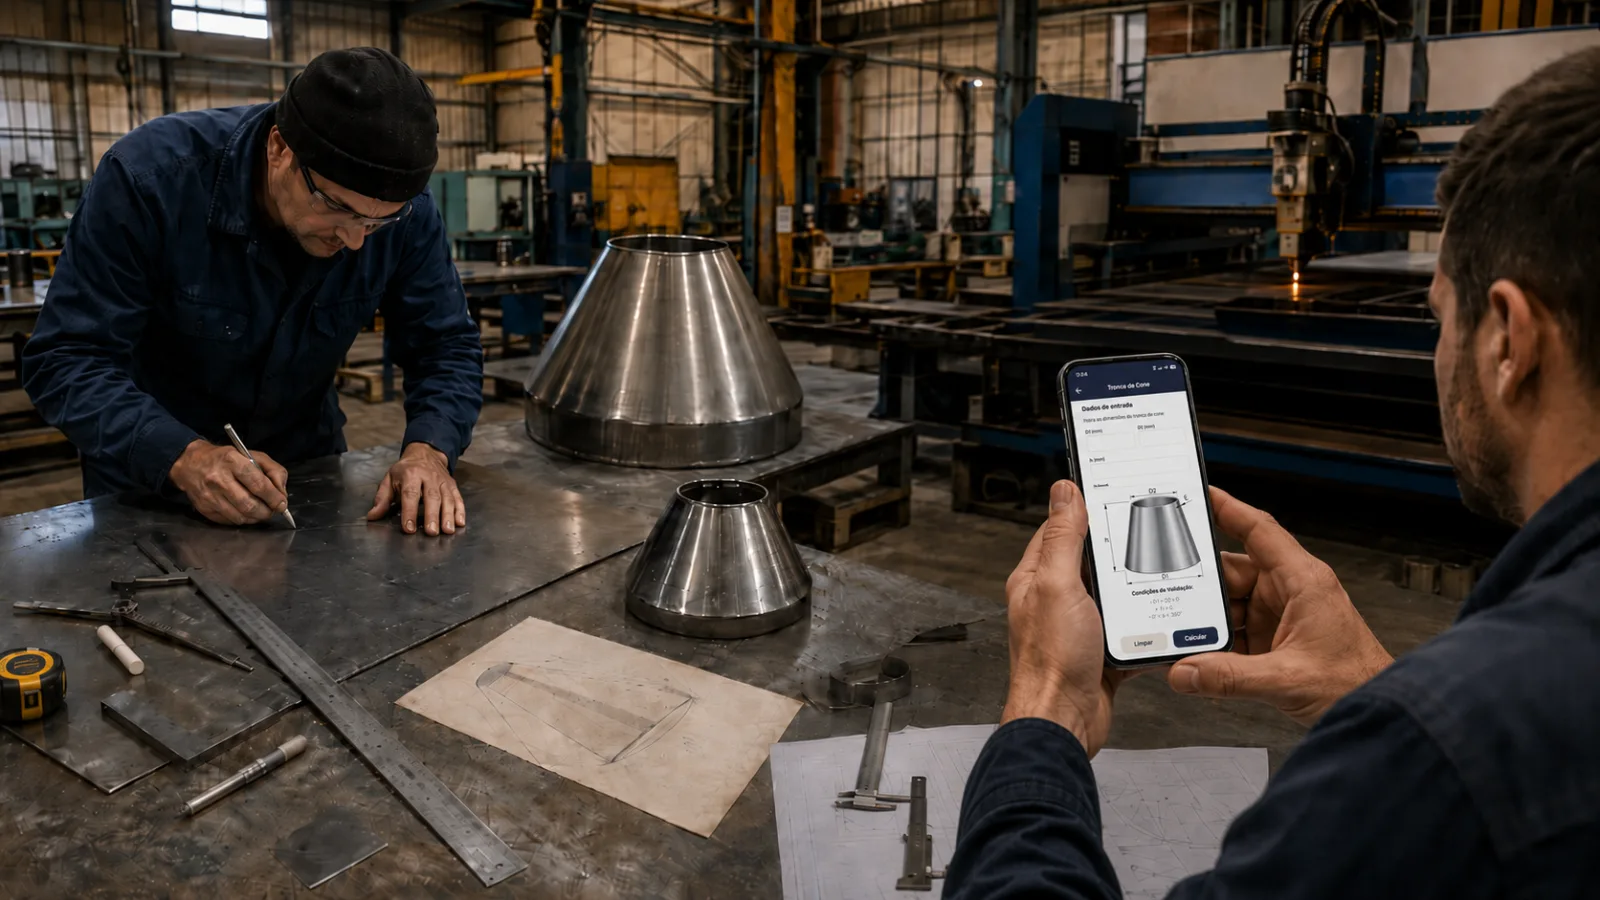
Carry TraceClub in your pocket
Boilermaking layouts, calculations and technical manuals in the palm of your hand — fast, accurate and always with you in the shop or in the field.
- Available for iOS and Android
- Works offline
- PT · EN · ES